
DIY Contact Microphone Project. YouTube
How to make your own Triangular Balanced Contact Microphone By Victor Engström Balanced contact microphone? Unbalanced contact microphones sound very dull/tinny without an impedance transformer. This is a DIY alternative without needing an impedance converter.

DIY Contact Mic Day to build a contact microphone… Flickr
Building your own contact mics is a great project to try as they are cheap and straightforward to make, with very little soldering, and not much to go wrong! Contact mics can produce great results, and are useful for recording things in isolation with out any background noise. Rather than record sound in air, they capture the vibration and resonance of the object they're in contact with.

JrF contact microphones
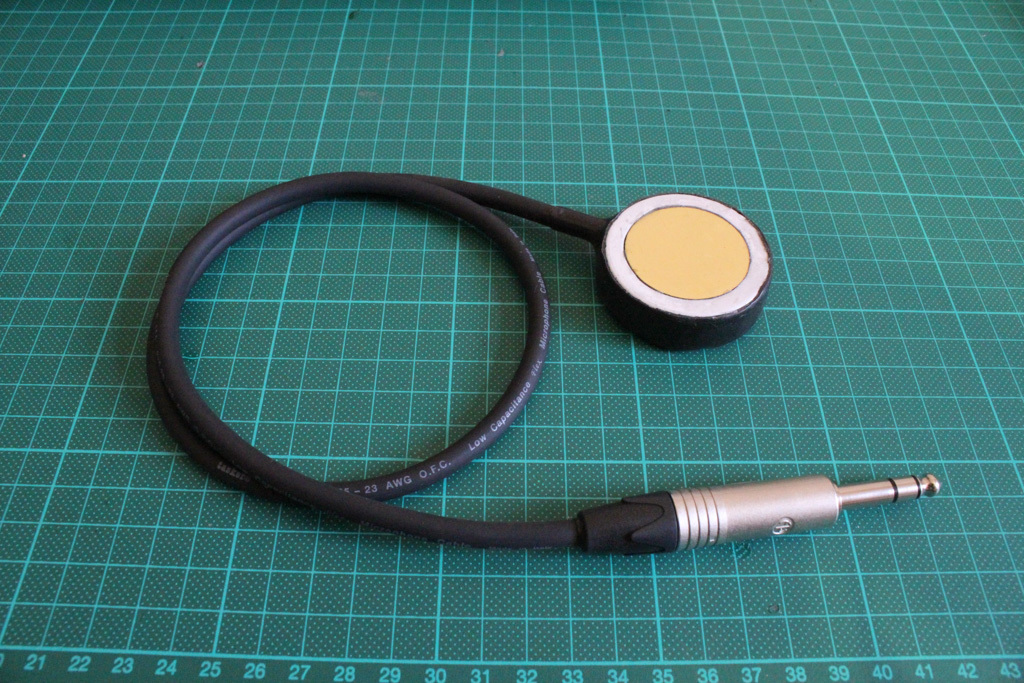
Step 1: Parts and Tools Parts 27mm diameter piezo bender, also known as a "buzzer element", such as this part from Digi-Key 8" length of 2-lead, shielded balanced microphone cable, such as Mogami W2582 1/4" inline female mono jack (sometime called TS or "tip-shield"), such as Rean/Neutrik NYS2202P cap from 20 oz pop bottle Tools

DIY contact microphone less than 5! YouTube
A contact microphone, also known as a piezo microphone, is a device that captures vibrations from physical surfaces and converts them into electrical signals. Building your own DIY contact mic circuit is an excellent way to learn about essential electronic components and gain experience in circuit building.
DIY Contact Mic Day to build a contact microphone… Flickr
This is my step-by-step guide to DIY contact microphones (with some commercial options thrown in at the end). There are many other ways to do it, but my goals with this method are simplicity and durability. What you need: Parts: Shielded audio cable & plug (Hint: Choose your plug based on what preamp you plan to use (usually 1/4″ or 1/8.
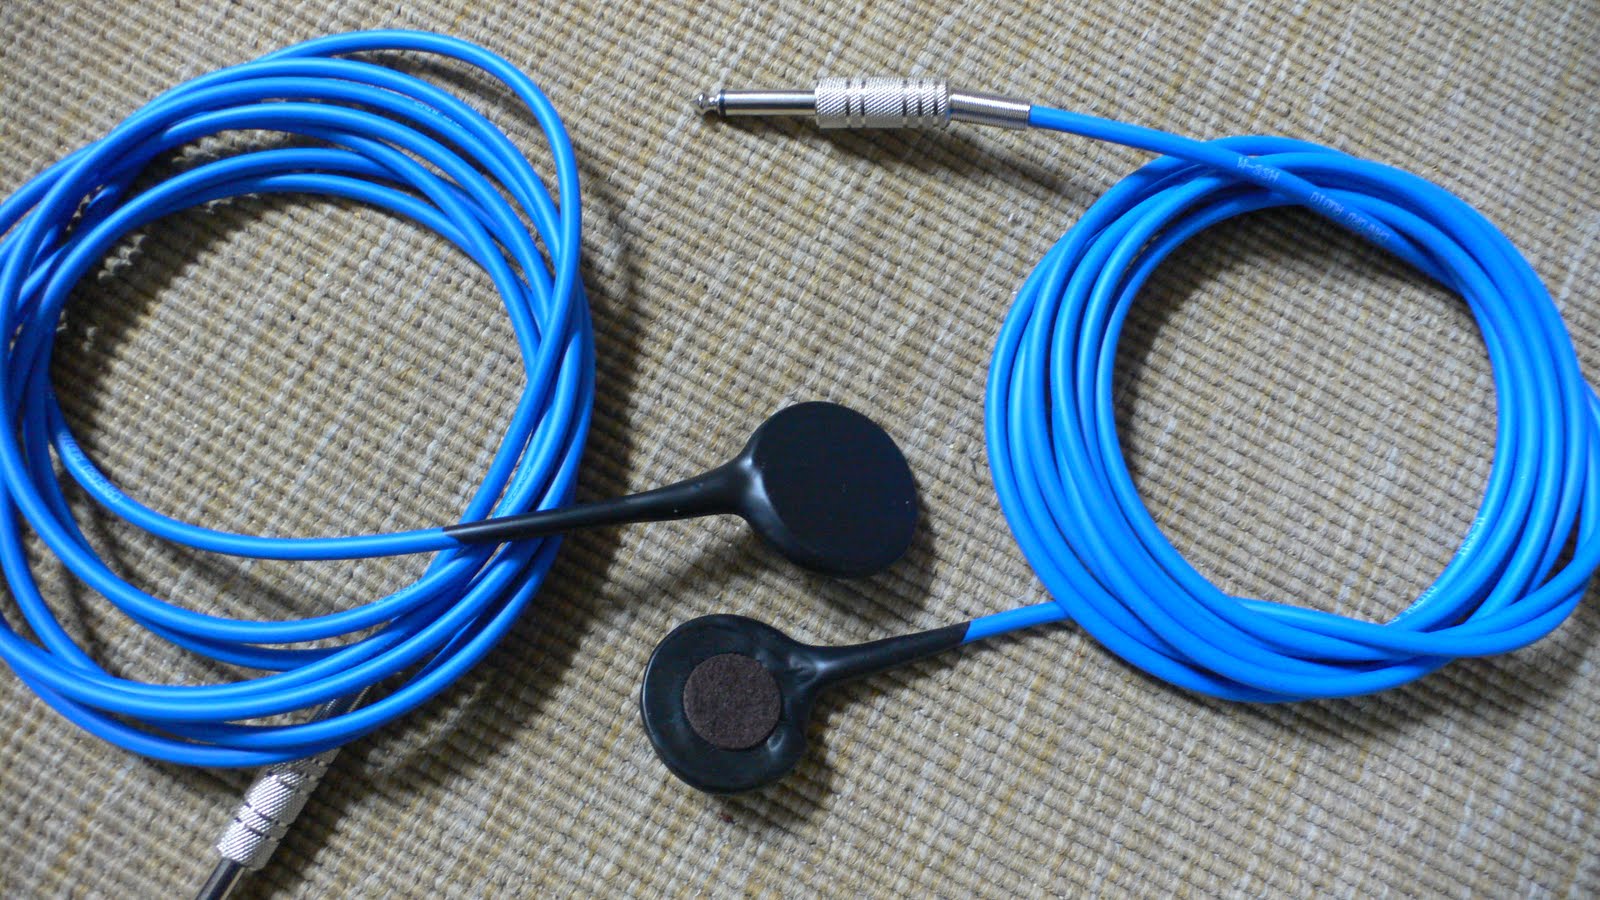
MLab in the Humanities » University of Victoria » Making Mics
Assembling Your DIY Contact Microphone. Follow these steps to assemble your contact microphone: a. Strip the ends of the shielded audio cable, exposing the inner wires. b. Solder one end of the audio cable to the piezo transducer, connecting the signal wire to the metal surface of the transducer and the ground wire to the outer edge.

Pin on DIY
A contact mic senses audio vibrations through solid objects. Build your own and take a video of every sound you can capture with it. DIY Library. Challenges. For Educators.. DIY traditionally means Do-It-Yourself and refers to the culture of building or creating things that can be bought. At DIY.org, we give DIY a slightly broader definition.

Cortado MkII Balanced Buffered Contact Mic DIY Kit Zeppelin Design
Tech Home Entertainment Hear hidden sounds with a DIY microphone Wire together your own unique microphone that can reveal hidden sounds all around you. Donald Bell Feb. 20, 2015 10:54 a.m. PT 3.
Cortado MkII Balanced Buffered Contact Mic DIY Kit Zeppelin Design Labs
You need 2 normal piezo elements Microphone cable XLR plug Connecting Sandwich the two piezos "belly-to-belly" (crystal and wires in, metal out) We just use a wad of normal silicone sealant in-between the piezos (Think Oreos) Join black wire from Piezo A to red wire from Piezo B and connect to Gnd on your xlr / microphone-cable
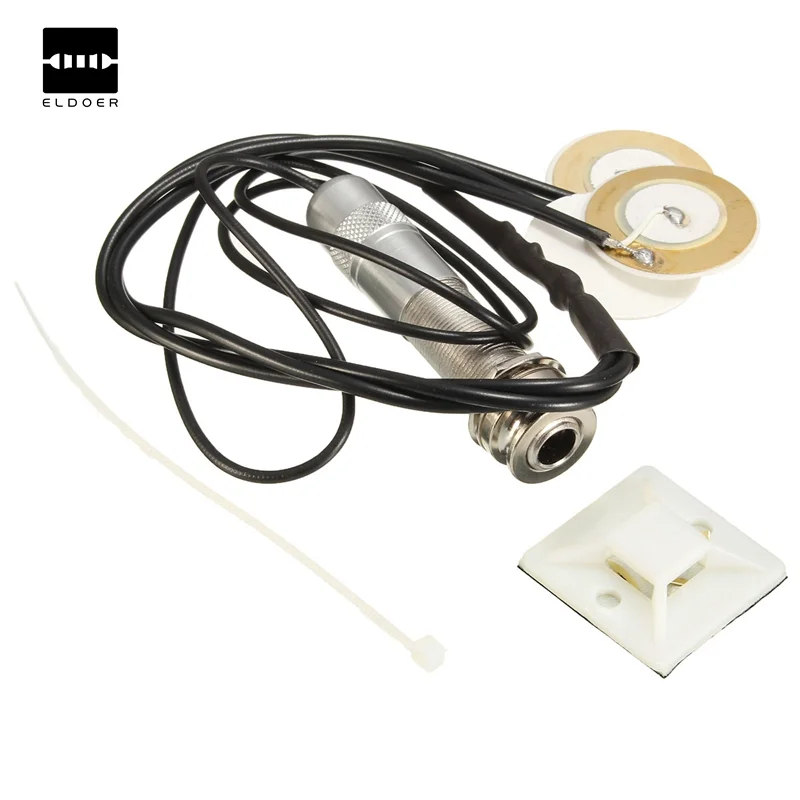
New Electric DIY high quality Pickups Professional Piezo Contact
The Cortado MkII Balanced Buffered Contact Mic kit contains a phantom-powered circuit that balances the signal from a piezo transducer and matches its high output impedance to the low input impedance typical of consoles and recorders. Please note the MkII is only offered as a DIY kit. MkII Features: Extended low-end response for full, rich sound.

Best 25+ Diy microphone ideas on Pinterest Microphone craft, DIY
December 20th, 2011 It's amazing what a little disk can do. when it's layered with piezoelectric crystals. Piezo disks are impressively sensitive to vibration and can easily be adapted to work as a contact microphones. The trick is the preamp - a basic circuit used to match the piezo's signal to levels compatible with modern audio gear inputs.
Piezo contact mic Phase57 v2.0
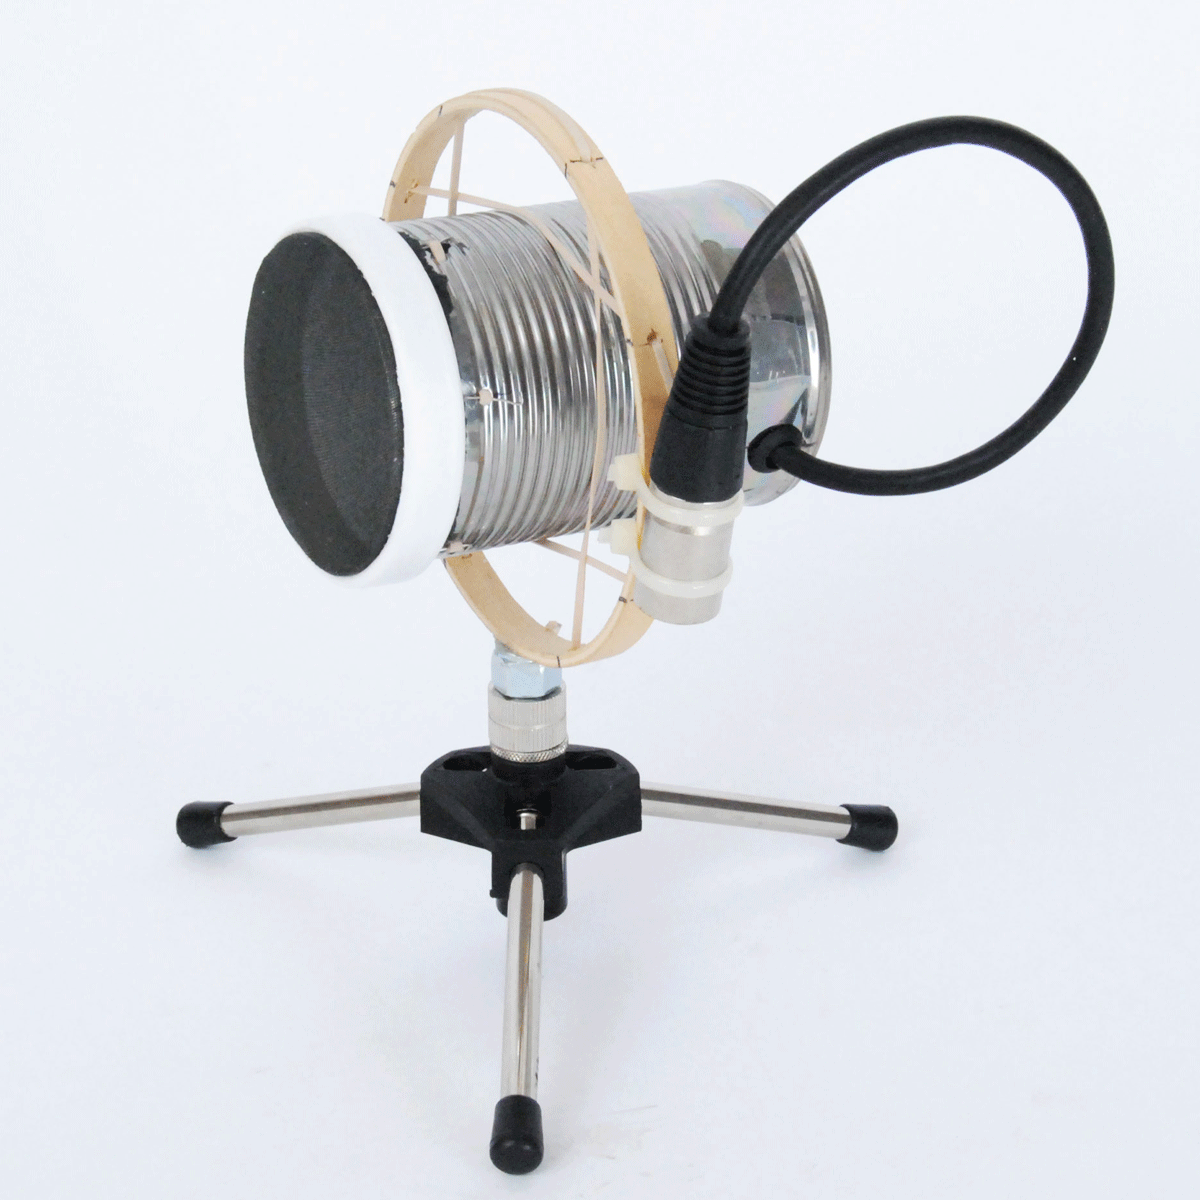
Step 3: Building. The idea was to use the lid as a cover for the sensitive piezo disc. So the first thing I did was to hot glue cardboard inside the lid to make the piezo disc able to lay flat against any surface I attach it to. Next I reinforced the solder joints with hot glue and striped the microphone cable and tined the wires.

B A S S L I N G
HOW TO MAKE A PIEZO CONTACT MICROPHONE (DIY LO-FI MIC TUTORIAL) insert silence 317 subscribers Subscribe Subscribed 3.8K views 3 years ago I often get questions about the contact.

HOW TO MAKE A PIEZO CONTACT MICROPHONE (DIY LOFI MIC TUTORIAL) YouTube
Intro Building a High Quality DIY Microphone Tim van de Vathorst 577 subscribers 36K views 1 year ago The DIY microphone is inspired by a video from DIY Perks. He gives a detailed.

Building (or Buying) Contact Mics Zach Poff
Air pressure microphones are implemented in various applications and are recorded by many types of devices so usually they are made fairly easy to drive and produce mic level signals between -30 and - 60 db at a voltage roughly at 2.5 millivolts. Contact microphones on the other hand are not really designed for recording high end audio.

Make a Contact Microphone 10 Steps (with Pictures) Contacts, Arduino
Disclaimer:Using an enclosure will change the resonant frequency of the sensor and may make it less sensitive.Before Gluing, ensure the Piezo you chose is working correctly by connecting the leads to the XLR and doing a test recording. For this project, I designed an enclosure for the contact microphone and modeled everything around an XLR cable and a Piezo disc less than 2 inches wide.
